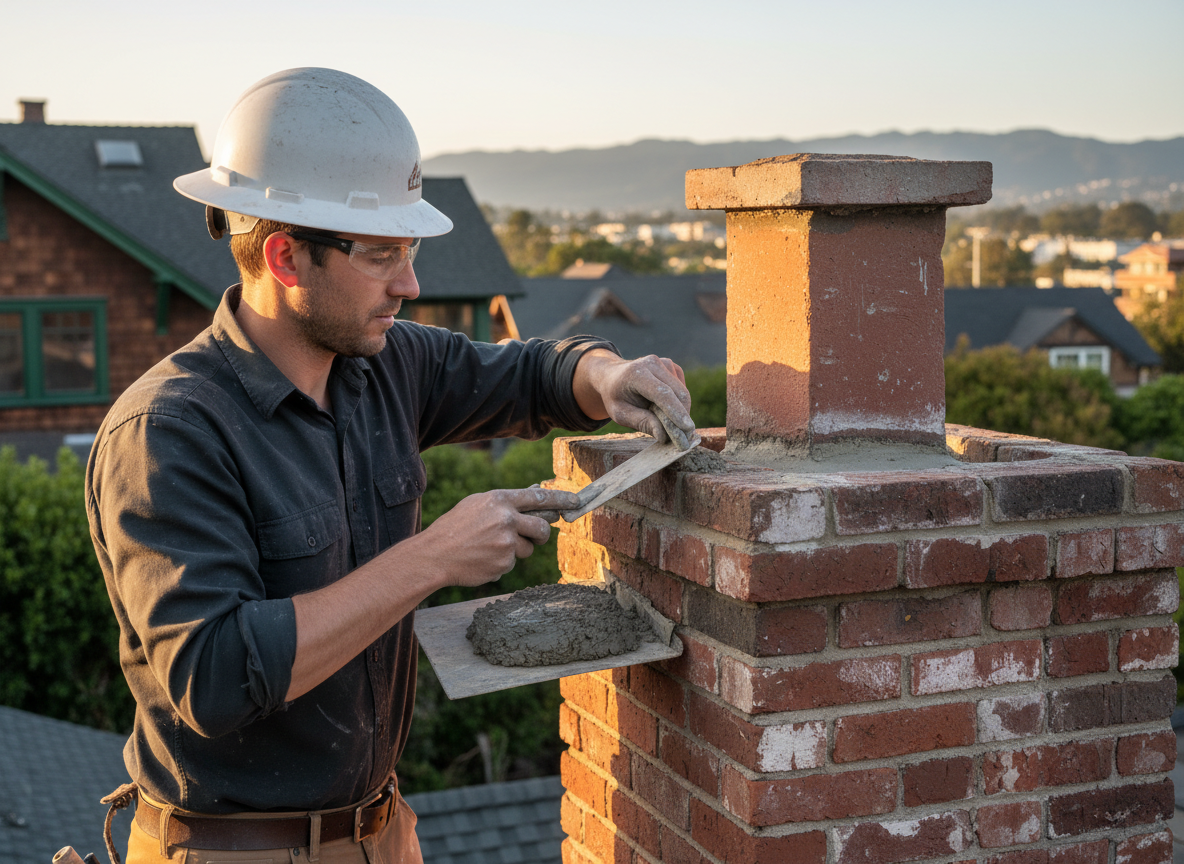
Tuckpointing addresses the mortar joints between bricks on chimneys that have cracked or eroded from decades of exposure. In Berkeley Heights homes built from the 1950s onward, original lime-based mortar often fails first at the crown and flue edges where water pools. Proper repair requires raking out the old material to a consistent depth without damaging the brick faces, then packing in new mortar matched for color and hardness so the chimney can expand and contract with temperature swings.
Union County winters bring repeated freeze-thaw cycles that force water deeper into any open joints, eventually pushing bricks out of alignment. Tuckpointing done correctly uses a lime-rich mix that breathes and flexes rather than a hard Portland cement that traps moisture. Technicians also check the flashing where the chimney meets the roof, because failed step flashing on older asphalt-shingle homes in Berkeley commonly allows water to reach the mortar from below.
Common Tuckpointing Triggers in Berkeley Heights
Older brick chimneys here show hairline cracks first along the south and west faces that receive the most sun and wind. Homeowners often notice white efflorescence or missing mortar pieces on the ground after heavy rain. Addressing these early prevents full chimney rebuilds later when water reaches the flue liner.
Materials and Technique Notes
We select Type N mortar for most residential chimneys in this area because it matches the softer original brick. Joints are tooled concave to shed water, and we avoid overfilling that creates ledges for snow and ice. Work is scheduled only when temperatures stay above 40 degrees for 48 hours so the mortar cures without freezing.
Technician insight
In Berkeley Heights the thing that catches most people out with chimney tuckpointing is how quickly water gets behind the crown on 1960s brick homes once the top two courses of mortar go. The freeze-thaw cycles here open those joints fast, and if you only repoint the sides you miss the real leak path.
South-facing chimney on Springfield Avenue
Homeowner noticed white streaks and loose bricks after a January thaw. We found eroded mortar on the crown and south face where sun had accelerated drying and cracking. After raking and repointing with lime-based mortar matched to the original, the chimney showed no further water entry during the next freeze cycle.
How it works
- 1
Inspection and Joint Assessment
Examine every accessible joint from roof to crown, noting depth of deterioration and any brick movement.
- 2
Raking and Cleaning
Remove old mortar to a uniform depth using hand tools to avoid scoring brick edges.
- 3
Mortar Application
Pack fresh mortar in layers, tooling each joint to match existing profile and ensure water runoff.
- 4
Curing and Final Check
Protect the work during cure time and verify no gaps remain at flashing or crown.
Pricing
Cost depends on chimney height, number of sides accessible, and extent of joint failure; 24/7 scheduling available from our Berkeley Heights base.