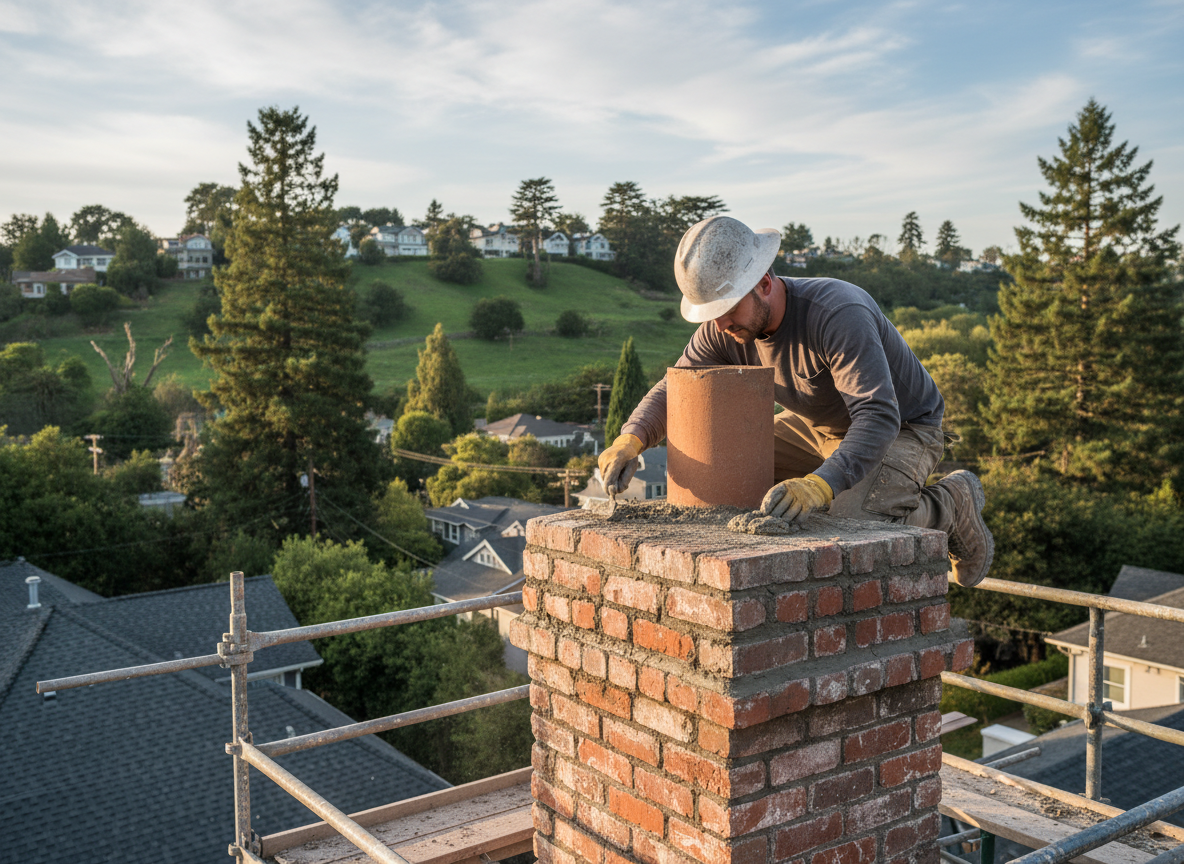
Berkeley Heights homes often feature mid-century brick chimneys exposed to heavy winter freeze-thaw cycles and summer humidity that accelerate mortar joint failure. When mortar erodes, water enters the flue liner and brickwork, leading to spalling and eventual structural compromise. Proper repair requires removing only the damaged mortar to a consistent depth, then packing fresh Type N or Type S mortar that matches the original compressive strength and color. Skipping the raking step or using pre-mixed caulks creates hidden voids that reopen within two seasons.
Access on many Berkeley properties is limited by steep rear yards or mature trees, so scaffolding or ladder staging must be planned around existing landscaping and roof pitch. Edge cases include chimneys with prior cementitious patches that have already cracked away from the brick; these must be fully cut out rather than covered. Local building practices in Union County also mean some stacks sit directly on wood framing without proper cricket flashing, so any mortar work near the roofline needs to be coordinated with flashing inspection to prevent recurrence of leaks into the attic.
Homeowners frequently attempt DIY repointing with the wrong mortar mix, which bonds too rigidly and cracks the surrounding brick during the next temperature swing. Professional repair starts with a full height inspection from crown to cleanout, documenting every open joint before work begins. Once completed, the new mortar is tooled to shed water and allowed to cure under damp burlap during dry spells to prevent rapid shrinkage.
Technician insight
In Berkeley Heights the thing that catches most people out with chimney mortar repair is how many 1960s and 70s split-levels have the chimney set against a north-facing wall that never fully dries after rain, so the mortar on that side always fails first.
North Wall Joint Failure on Plainfield Avenue
Homeowner reported interior staining near the fireplace during spring rains. Inspection showed open mortar on the north side of the stack where constant shade kept the brick damp. We raked and repointed only the deteriorated joints with a slightly softer mix to accommodate the existing brick movement. Follow-up after the next heavy rain confirmed no further moisture entry.
How it works
- 1
Initial Inspection
Walk the full height of the chimney from grade to crown, noting open joints, vegetation, and crown condition.
- 2
Joint Preparation
Rake out deteriorated mortar to a minimum 3/4 inch depth without damaging brick edges.
- 3
Mortar Application
Pack fresh mortar in layers, tooling each joint to match the original profile and slope.
- 4
Final Cure and Check
Protect fresh work from direct sun or rain, then return after 48 hours to verify set and color match.
Pricing
Cost depends on chimney height, number of joints requiring work, and access difficulty.