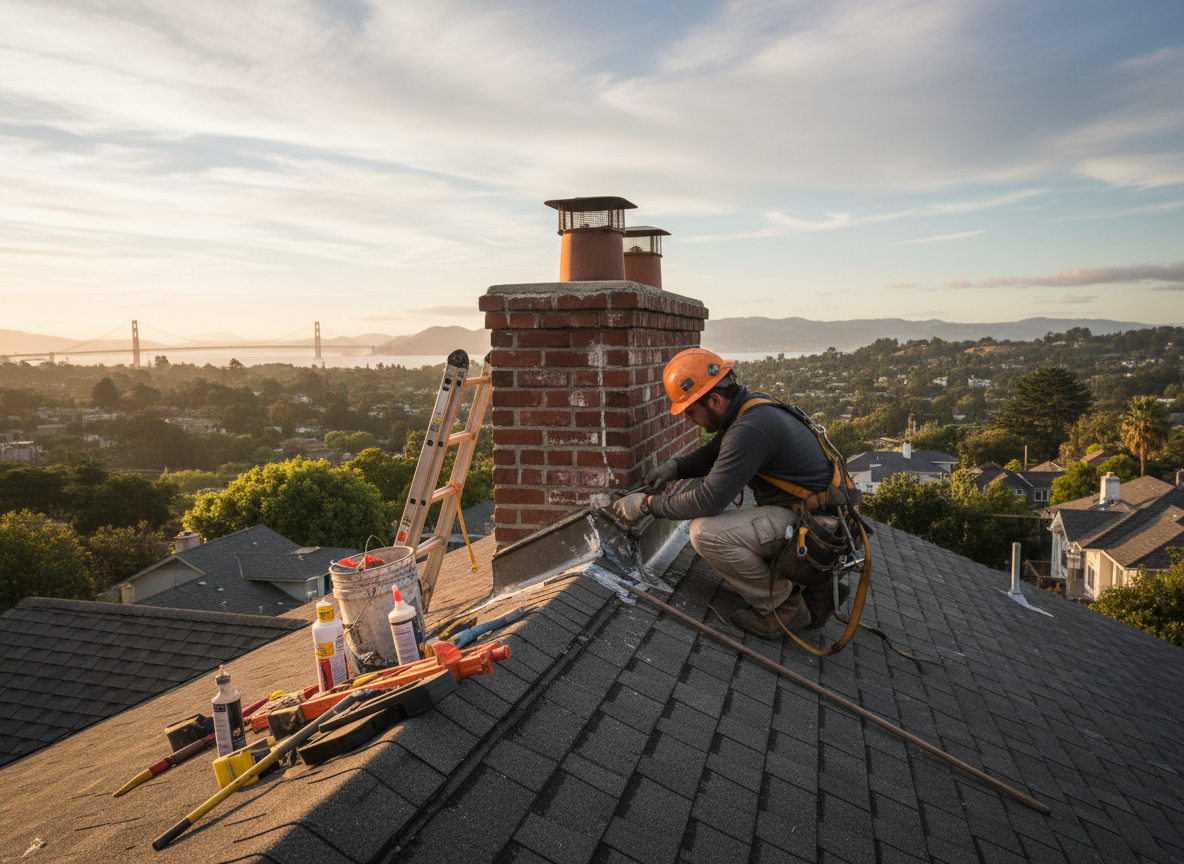
Chimney leaks in Berkeley Heights often start where the flashing meets the roof or where mortar joints have opened from repeated freeze-thaw cycles. Older brick chimneys common on 1960s and 1970s split-levels and colonials in the Berkeley area allow water to travel behind the liner and damage ceilings or attic insulation. We trace the actual entry point rather than assuming the crown is the only culprit, then rebuild the flashing tie-in and repoint only the affected courses so the repair blends with the existing masonry.
Water that pools at the chimney base in Berkeley Township homes frequently comes from failed cricket flashing or from soil settling that tilts the chimney slightly forward. Once moisture reaches the flue tile, it can freeze and crack the liner during winter nights. Our process includes checking the crown slope and weep holes, then installing new step flashing that extends under the shingles by the full manufacturer-recommended distance before any masonry work begins.
Homeowners in the Berkeley area sometimes try to seal leaks from the inside with caulk or spray foam, which only traps moisture and accelerates spalling on the exterior brick. Proper repair requires access from the roof and removal of the top course of bricks when the original wash has deteriorated. We always verify the new crown pitch matches the original design so snow does not sit against the flue.
Technician insight
In Berkeley Heights the thing that catches most people out with chimney leak repair is how quickly water travels down the back side of the chimney once the step flashing lifts; the 1970s split-levels here often have shallow roof pitches that let snow sit right against the brick for weeks, so the leak shows up two stories down in the family room instead of right at the chimney.
Berkeley Heights split-level leak
Water stains appeared on the second-floor ceiling after a January thaw. Inspection showed lifted step flashing on the north side where the roof met the chimney. We replaced the flashing, repointed the two affected courses, and restored the crown pitch. No further moisture reached the attic on the follow-up test.
How it works
- 1
Site Inspection
We examine the roofline, flashing, crown, and interior ceiling stains to locate the exact water path.
- 2
Flashing and Joint Assessment
We lift shingles at the chimney intersection and test mortar joints for water movement before any repair begins.
- 3
Targeted Repair
We rebuild or replace step flashing, repoint open joints, and restore the crown slope using materials matched to the existing chimney.
- 4
Final Water Test
We run a controlled hose test from the roof and check the attic and ceiling for any remaining moisture.
Pricing
Pricing depends on roof access, extent of flashing replacement, and whether masonry courses must be rebuilt; we provide an upfront quote after inspection.