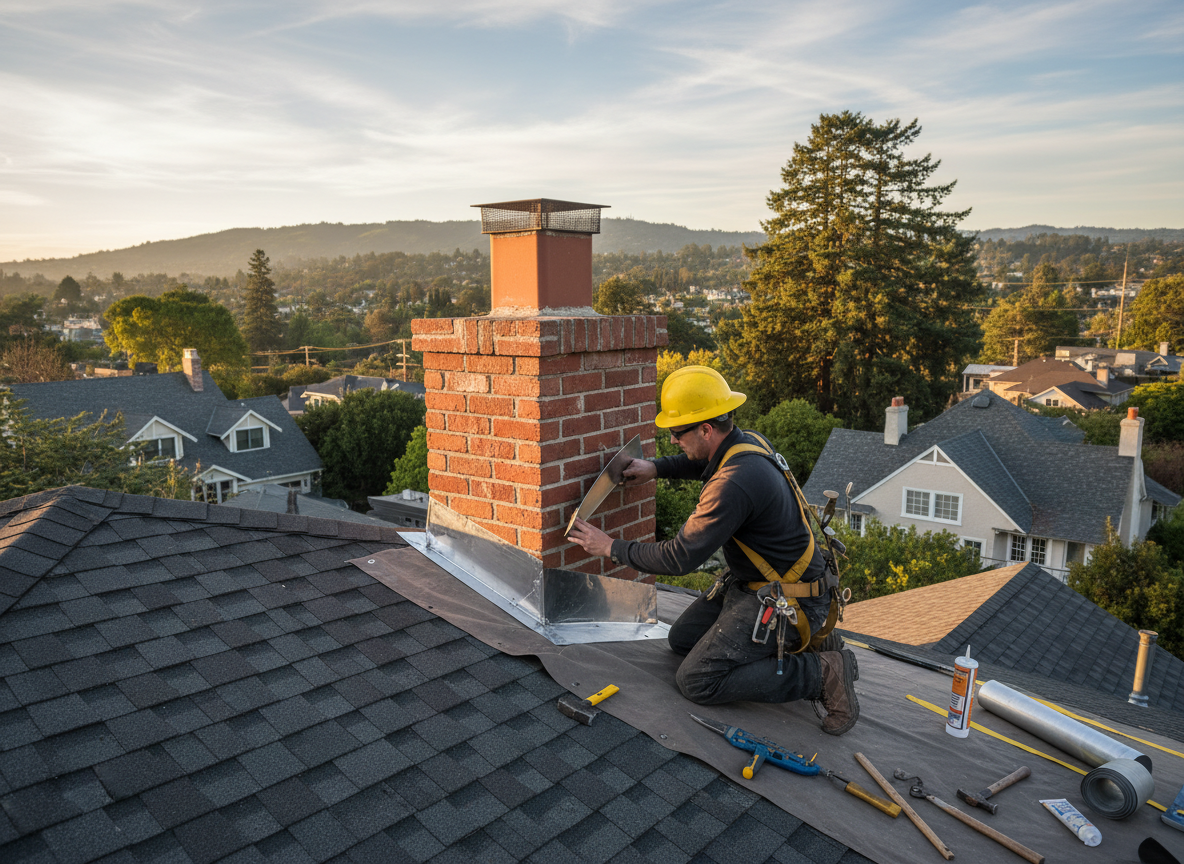
Chimney flashing repair addresses the metal or step flashing where the chimney meets the roof deck. In Berkeley Heights homes built from the 1950s onward, this joint often fails when original lead or aluminum flashing corrodes or pulls away from the brick due to repeated freeze-thaw cycles common in Union County winters. Proper repair requires removing damaged sections, installing new counter flashing tucked into the mortar joints, and sealing with high-temperature caulk rated for exterior use.
Homeowners in the Berkeley area frequently notice water stains on attic ceilings after heavy rain or snow melt. The issue stems from failed step flashing along the sides of the chimney rather than the crown or flue. Technicians must inspect the roof pitch, shingle condition, and mortar integrity before replacing flashing to avoid trapping moisture behind the brick. Skipping the tuck-pointing step during repair leads to recurring leaks within one or two seasons.
Repair work on these chimneys also accounts for the steep roof slopes found on many split-level and colonial homes in the Springfield Avenue corridor. Materials must match the existing roof type, whether asphalt shingles or slate, to maintain proper water shedding. Technicians carry both copper and galvanized options on the truck because older homes in Berkeley often have mixed flashing types from previous patchwork repairs.
Seasonal Considerations
Winter ice dams along the chimney base push water under flashing that looks intact from the ground. Scheduling inspection before the first hard freeze prevents interior damage during the coldest months when access becomes limited.
Technician insight
In Berkeley Heights the thing that catches most people out with chimney flashing repair is the way older brick chimneys on split-level homes shift slightly each winter, breaking the seal at the step flashing even when the metal itself still looks solid.
Ice Dam Leak on Springfield Avenue Home
Water stains appeared on the second-floor ceiling after a January thaw. Inspection showed the original aluminum flashing had pulled away from the mortar on the north side of the chimney where snow had piled. New copper step flashing was installed with fresh tuck-pointing and sealant. No further leaks occurred through the rest of the winter.
How it works
- 1
Initial Inspection
Technician climbs to the roof and checks flashing condition, mortar joints, and roof penetration points from 404 Springfield Ave base.
- 2
Material Removal
Old or damaged flashing is cut out without disturbing sound shingles or brickwork.
- 3
New Flashing Installation
Step flashing and counter flashing are fitted and secured with proper overlaps and sealant.
- 4
Sealing and Testing
All joints receive exterior-grade sealant and a water test confirms the repair holds.
- 5
Cleanup and Report
Debris is removed and homeowner receives photos of the completed work.
Pricing
Upfront quotes provided after on-site inspection; cost varies with roof access, chimney height, and extent of flashing damage.